The type of astrophotography tips and techniques I will be discussing on this page are geared towards deep sky imaging with a DSLR camera. This involves using a DSLR and telescope to capture objects in space such as nebulae, galaxies and star clusters.
I am not an expert, and most of what I have learned was accomplished with beginner-level astrophotography equipment. However, I have learned the “hard way” through countless imaging sessions in the backyard.
The following 5 ways to improve your astrophotography can be applied to many types of images, including wide-angle landscape images. If you prefer to focus on Milky Way photography or Moon photography, you can visit those areas of my website. I have also organized all of my astrophotography tutorials to their own sections of the website.
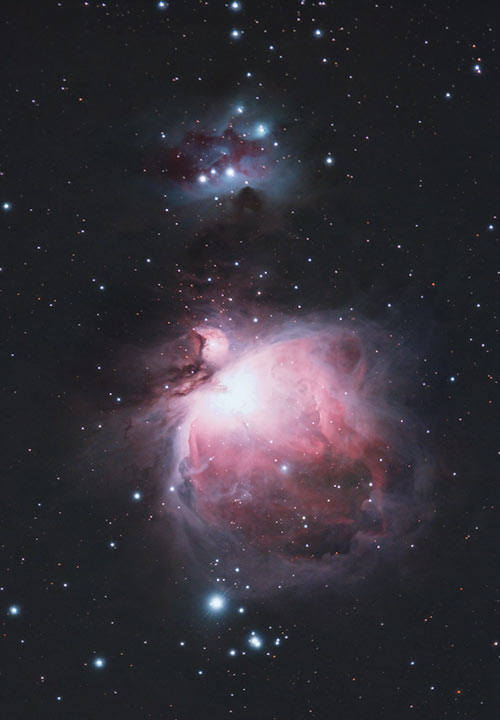
The Orion Nebula captured using a DSLR and small telescope.
Basic Advice & Camera Settings
Are you looking for some basic advice and astrophotography tips for your DSLR camera? I have put together a post that outlines the general camera settings needed for astrophotography without a telescope here: 7 astrophotography tips you can try tonight.
Some of the topics covered are using live-view on your DSLR camera to focus on a star, choosing the best ISO setting, and recommend white balance settings. This is a great place to start if you are new to astrophotography, and are looking for some basic knowledge that applies to taking images at night.
Astrophotography Tips for Deep-Sky Imaging
The following 5 astrophotography tips will help you produce better DSLR deep-sky images of the night sky. Many visitors to this website are beginners, and these guidelines may just move you another step towards your goals.
These techniques will help you take better images, and make the most of your nights under a clear sky. As you may have already found out, many of these techniques are easier said than done. For example, polar alignment is critical for deep sky imaging, yet many beginners get this part wrong.
By keeping these guidelines in mind, your images will improve as time goes on. It will take time to hone your craft and develop a level of quality you are happy with.
With so many opinions about the best way to photograph the Milky Way and the deep-sky objects found within it, I thought it would be best for me to highlight 5 basic ways anyone can improve their DSLR astrophotography.
Some of these tips may seem obvious to you, but please remember that there are others who are new to astrophotography that could benefit from these basic principles. Those who photograph deep-sky objects using a DSLR on a tracking equatorial mount will benefit most from these astrophotography tips.
Beginners can learn a wealth of knowledge by paying attention to the equipment and techniques of others. A great resource for admiring equipment and processing techniques is AstroBin.
5 Ways to Improve Your Astrophotography Images
1. Polar Alignment
You really want to get this one right. Accurate polar alignment of your telescope mount can be the difference between a decent image, and a great one. Whether you’re using an AstroTrac, iOptron SkyTracker camera mount, or a robust equatorial telescope mount like myself, aligning your rig with the north celestial pole is essential.
Most astrophotography mounts have a built-in polar scope to aid us in aligning Polaris (In the northern hemisphere) to the correct position for a night of imaging.
It is an important first step when setting up your equipment, so make sure you take the time to get it right. Polaris is very close to the north celestial pole, but not quite.
This is what makes the difference between round stars, and footballs. Even if you use an autoguiding system, accurate Polar alignment is essential for a sharp image.

The QHY Polemaster polar alignment device.
Many astrophotographers have recommended using the QHY PoleMaster for spot-on Polar Alignment. It’s an electric polar scope with a built-in camera, designed for high precision polar alignment.
It has several adapters available to cater to your specific telescope mount. You can read up on the product on their website. I do not own one of these, but it is worth looking into if you are not satisfied with your current polar alignment experiences.
Polar Alignment Mobile App
I use an app for my Android mobile phone called Polar Finder (iPhone users can use ScopeTool) to help me locate the position Polaris should be in for my location on Earth.
I then visually confirm the position in my telescope mounts illuminated polar scope and make any adjustments needed to the mount. This step should not be overlooked, as it is critically important if you wish to capture sharp astrophotos.

The “Polar Finder” mobile app I use to aid in polar alignment.
Even smaller camera mounts like the iOptron SkyTracker Pro need to be properly polar aligned to capture sharp astrophotography images.
This camera mount includes a small polar scope that needs to be aligned with the north celestial pole just like a large equatorial telescope mount does. Whether your shooting through a telescope, or a small camera lens, polar alignment is essential when it comes to long exposure astrophotography.
2. Balance Your Telescope
This is another easy step you can make at the beginning of your imaging session, and give yourself the best chance of success.
This process usually takes less than 5-minutes, yet has been skipped by many amateur astrophotographers time and time again. The reason this step is so important is that you want your mount to run as smoothly and effortlessly as possible.
The less your mount has to work, the sharper your images will be.
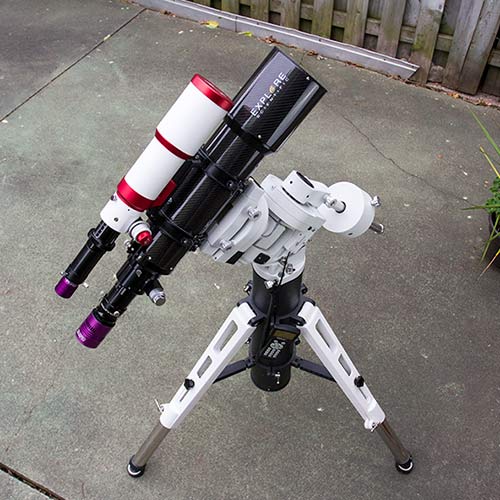
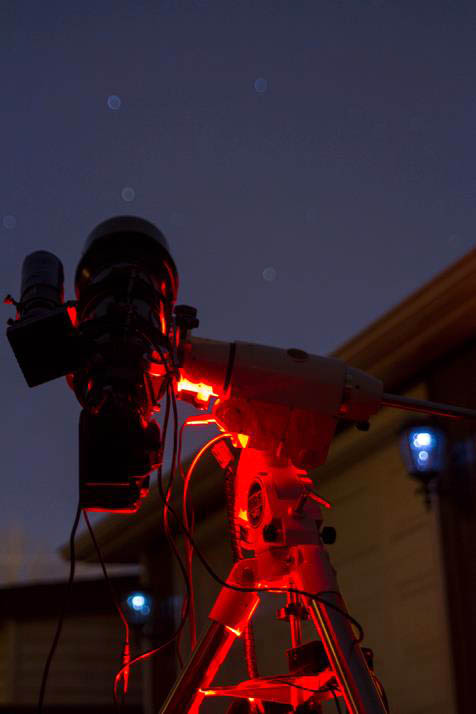
Larger mounts like the iOptron CEM60 (pictured above) can perform exceptionally, as long as you have properly balanced your payload.
Start by carefully loosening the clutch on one axis of your mount, and move the telescope side to side to discover if the telescope or counterweight is out of balance.
Slide the counterweight up or down the shaft to find the best balance between the two. Make sure to re-tighten the clutch on this axis when you have achieved the best balance possible. Then, repeat the process for the movement on the other axis, making sure that your telescope can move effortlessly from side to side.
If you have never properly balanced your telescope on your mount before, you should notice a HUGE difference in your autoguiding accuracy.
It has been brought to my attention that the order of this process can make a difference, as seen in this article on the matter by Starizona.
I personally have had great success by balancing both axis’ of the mount in any order. I should note, make sure that you balance the telescope with your entire imaging train attached, with the focuser tube at the same distance you will be imaging at.
After all, this is the exact payload your telescope will need to balance.
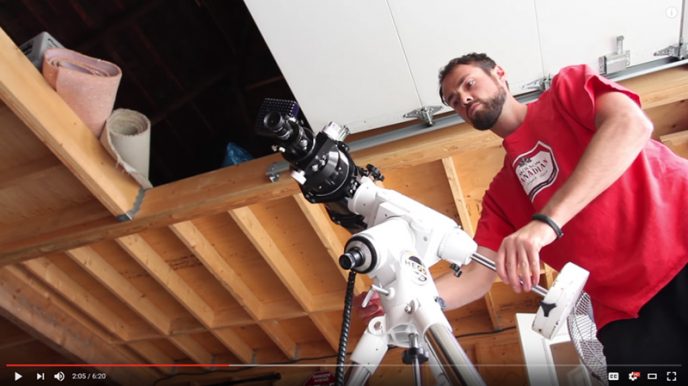
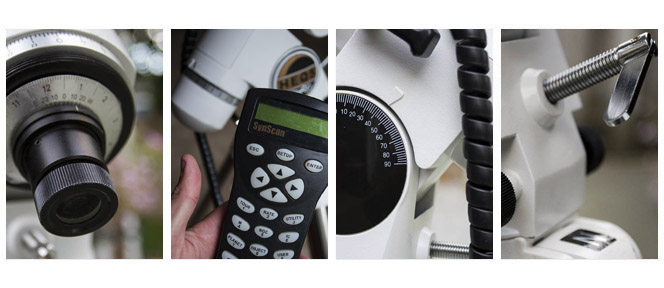
Balancing my telescope on an equatorial mount.
3. Shoot a Minimum of 2-3 Hours worth of Exposures
I think we have all been guilty of capturing 30-minutes on a target and calling it quits. First off, I will say that I have broken this rule many times, and posted and shared images with 1 hours worth of exposure time, or even less.
The problem with this is that you are selling yourself, and the deep-sky object short. Much more detail and color can be brought out of the image during post-processing if you invest the time it takes to capture more light frames.
I understand that it is very hard work to capture and stack over 2 hours worth of exposures on a specific nebula or galaxy, especially over several nights.
Heck, this past winter I was only able to collect less than 1 hours worth of data on the Horsehead Nebula!
This made the image processing task much more challenging. Do yourself a favor and put the hard work in out in the field, so that you can enjoy processing your well-exposed object with a strong signal to noise ratio.
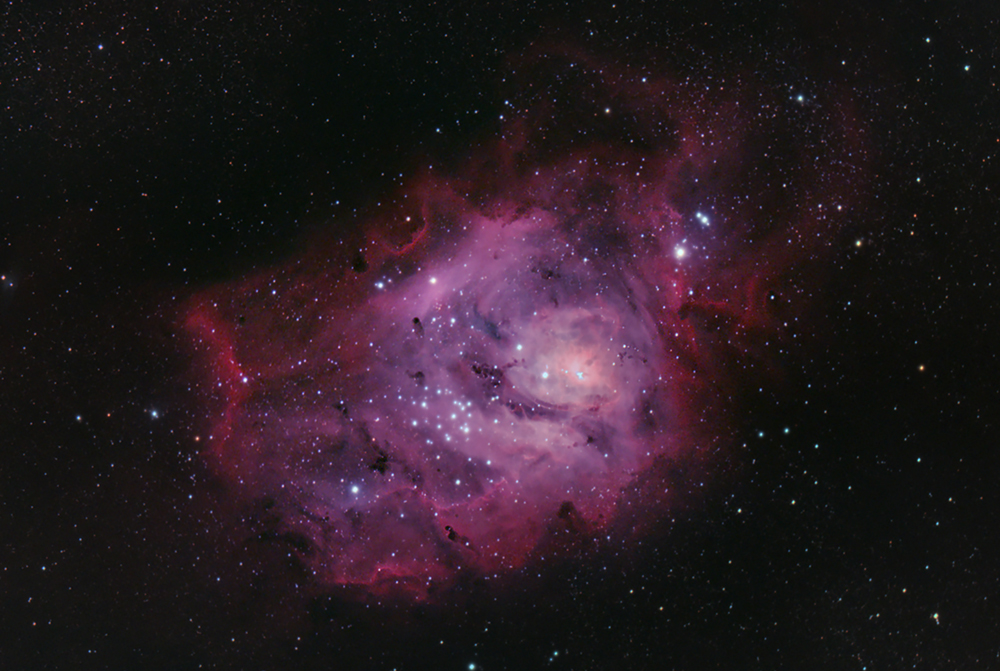
A 2.5-hour exposure of the Lagoon Nebula.
My best astrophotography images have one thing in common – they have over 3 hours of total integrated exposure time.
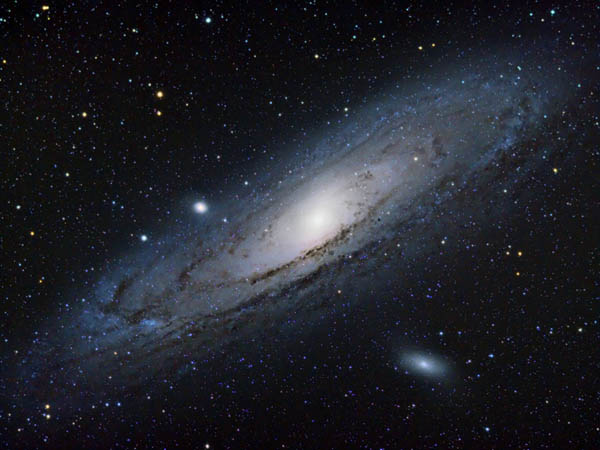
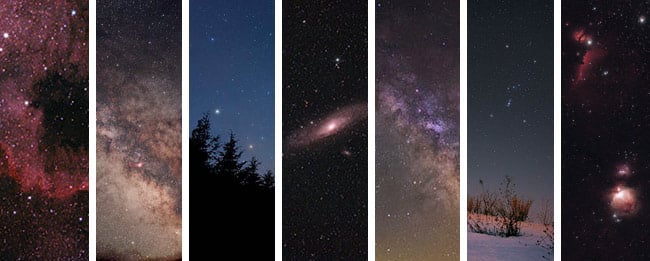
The Andromeda Galaxy
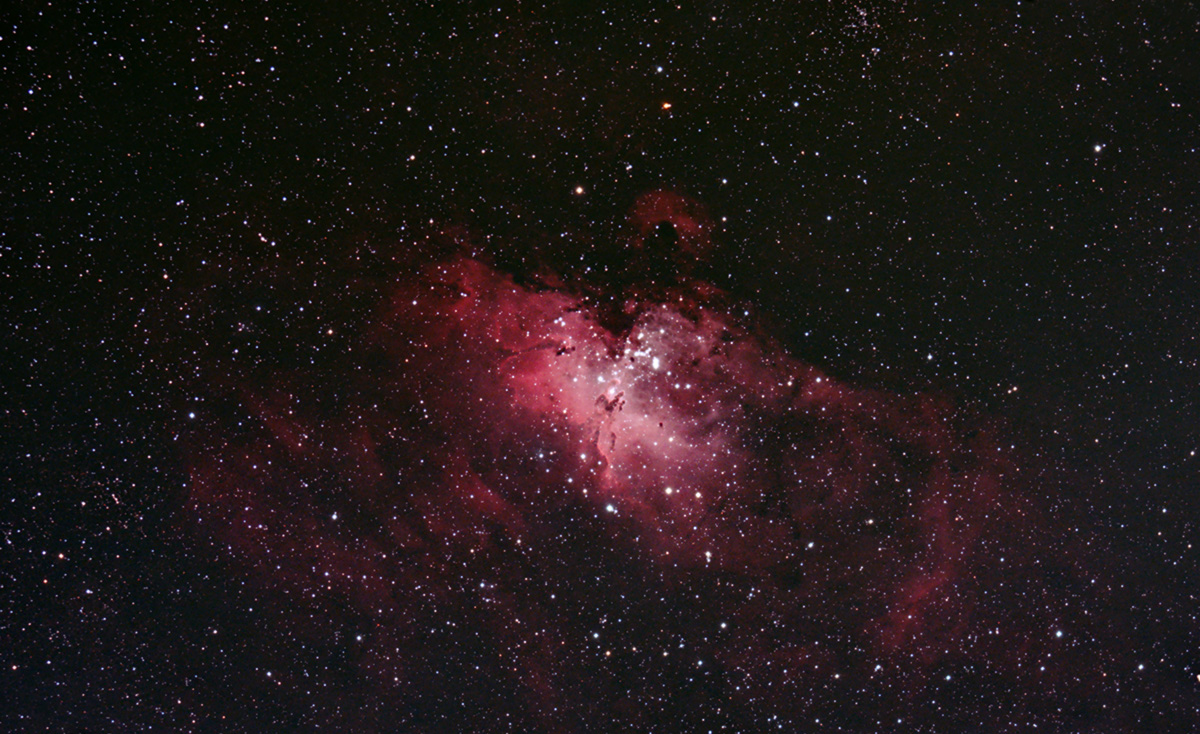
The Eagle Nebula
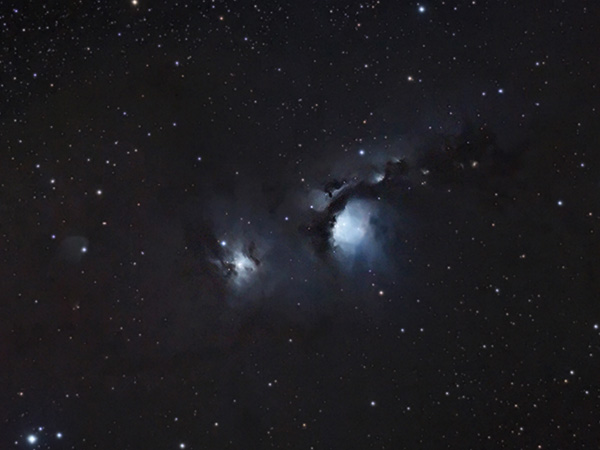
Reflection Nebula
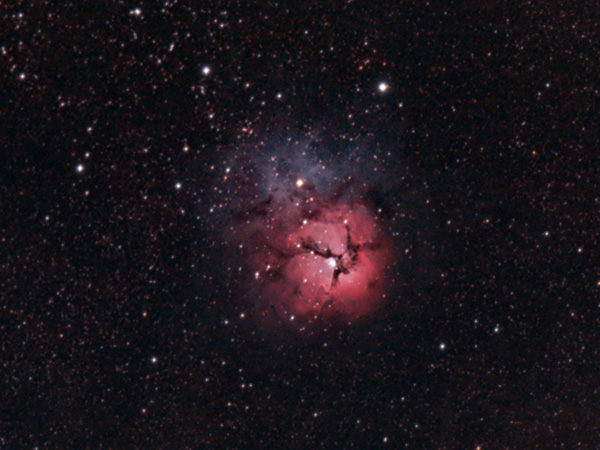
The Trifid Nebula
4. Shoot Support Frames (Darks, Flats and Bias)
There really is no excuse for not using dark, flat and bias frames when stacking and registering your light frames. DeepSkyStacker heavily promotes the use of all 3 of these support files to produce your final TIF file that you will then make your final edits to.
Dark Frames:
Dark frames are a must for DSLR astrophotographers, as these cameras produce thermal noise that can drastically affect the quality of your final image. Remember, these frames are created by shooting the same exposure lengths with the same ambient temperature as your light frames – with the lens cap on.
You can remove the DSLR from your telescope to shoot these or attach your dust cap to the end of the telescope. I usually choose the latter.
Remember to block out any stray light that may enter the camera’s sensor, even through the viewfinder. I recommend taking at least 15-20 dark frames for each session.
Flat Frames:
How to take flat frames for astrophotography
These can be a bit tricky, and there a number of opinions about how to take flat frames with a DSLR camera. Flats are used to help correct vignetting and an uneven field in your image.
To create a flat frame using a DSLR camera, you will need to set your camera to Av mode (Auto exposure) and keep your DSLR camera attached to your telescope, with the same focus you were imaging your light frames with.
I have found that covering the front objective of your telescope with a plain white t-shirt, and pointing the scope towards the morning blue sky works well.
Make sure to smooth out all of the folds, and that you are not aiming at the sun or any clouds in the sky. If you can’t leave your equipment out all night into the morning, you can shine an even, flat, bright source of light into the t-shirt. 15-20 flat frames should do the trick.
While in Av mode, keep the same ISO setting as your light frames.
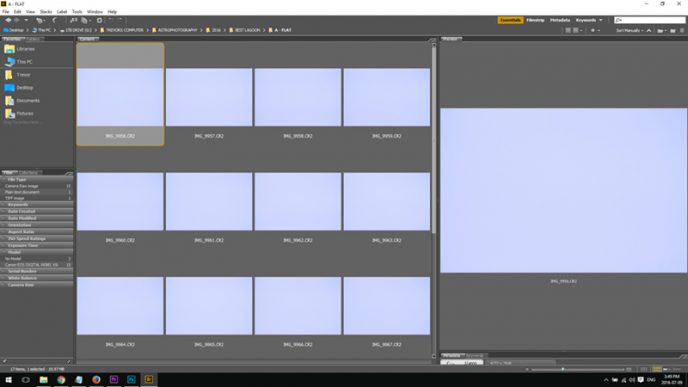
Reviewing flat frames taken with a DSLR camera.
If you are using a dedicated astronomy camera or CCD, you’ll need to discover your camera’s target ADU for a useful flat frame. Flat field panel devices such as the Artesky Flat Field Generator are useful when experimenting with different exposure lengths to create a useful exposure length for your flat frames.
These devices work with both DSLR cameras and dedicated astronomy cameras to produce controllable results for correct uneven field illumination.
Bias Frames:
Shooting Bias frames are very quick, and very easy. With the lens cap attached to your camera, turn the mode on the DSLR to Manual, and set the exposure length the Bulb Mode.
Then, adjust the exposure length to the fastest shutter speed your camera has. For my Canon Xsi, that’s 1/4000 of a second. Shoot 15-20 of these frames, and you’ll have them when asked by DSS during the stacking stage.

The Triangulum Galaxy photographed with a DSLR camera.
5. Don’t Over-Process your Images!
Many of us, including myself, are guilty of this. You get excited because you can actually see some of that beautiful nebulosity and color in your deep-sky photo, and you rush your image into Adobe Photoshop.
Then, you make that ever-so-powerful curves adjustment that brings the bright pinks, purples and dark dust the surface.
This really is a satisfying feeling, all that work out in the field collecting data, and now you are revealing the wondrous image you have worked so hard to obtain.
So what’s the problem?
Well, let us have a look at the stars in the image, did you blow them out completely by pulling that dim nebulosity forward? How about that background space? Is it a nice smooth dark gray, or does it have a blotchy red/green color mixture going on?
My point is, that once you have enough exposure time, and you have effectively utilized your support files, you will be able to gently pull out the details from your astrophotography image in Photoshop.
The signal to noise ratio will be so great that you can make modest curve and levels adjustments without destroying other important features of your photograph.
An image with a high signal to noise ratio is a pleasure to process. Do yourself a favor and put the time in outside, and make your image-processing session an enjoyable experience.
Credit goes to Trevor Jones from AstroBackYard for this article.
